
How To Set Up A Home Studio
It is easier than ever to record your music and share it with others. It is also easier than ever to achieve really good results with modern technology in your bedroom, lounge room, the garage, or in a class room. But before we get to that, there are a few basics we will need.
- Something to record to.
There are dedicated recording hardware models available, and they do offer some advantages, but for most of us recording at home a computer is the best option. Just about any modern computer will be able to run the software well for recording. At the heart of my recording setup is a 2009 iMac with 16gb of RAM. It still does everything I need for recording, and runs the latest incarnation of Cubase (Cubase 10 Pro) without issue. RAM is the key here if you wish to load in lots of plugins on a lot of tracks. The more RAM the better!
Other than that, just about any Mac or PC should be fine to get you started. - Software.
Audio recording software (commonly called a Digital Audio Workstation, or DAW) resembles a studio setup on your computer monitor. It will record audio, MIDI, allow you to edit, manipulate and arrange loops, and then mix and render your work to a file such as MP3 or WAV.
Steinberg’s Cubase and Avid’s Pro Tools are both very good programs that are found in studios around the globe. Both offer different versions of the software, so you may find a lighter version of say Cubase does everything you need and more.
Buy Steinberg Cubase
Buy Avid Pro Tools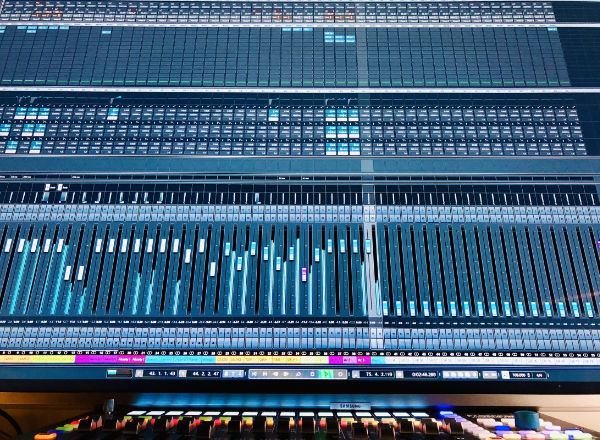
- Audio Interface
Once you have the computer and software you need some way to get the audio signal you with to record into it, and this is where the interface comes in. Yes, you can try the mic input on your computer. No, it is not really up to producing quality audio and multi-tracking a recording session. An external audio interface will connect to your computer via USB (FireWire was once prominent, and there are still some audio interfaces using this protocol, but today most use USB connectivity) and allow you to connect instruments and microphones for recording into your DAW. It will offer much better performance, better quality, better playback, and professional connections.
Before buying an interface you should think about what you will be recording. How many and what type of connections will you need? How will you listen to your recording during a take, and how will you listen back when mixing your tracks? It is also worth considering what you might do in the future, but not being silly about it. Having an interface with only 1 input might be what you need to start with, but maybe in the future you might find a second is very useful.
We would personally recommend a unit with two inputs, a stereo line output to connect to monitors, and a headphone socket as a starting point. Something like the Focusrite Scarlett 2i2 or the Steinberg UR22 are both ideal for this.
Often the interface will also come with a lite version of a DAW that might be limited in all that it can do, but will at least get you started.
Buy audio interfaces here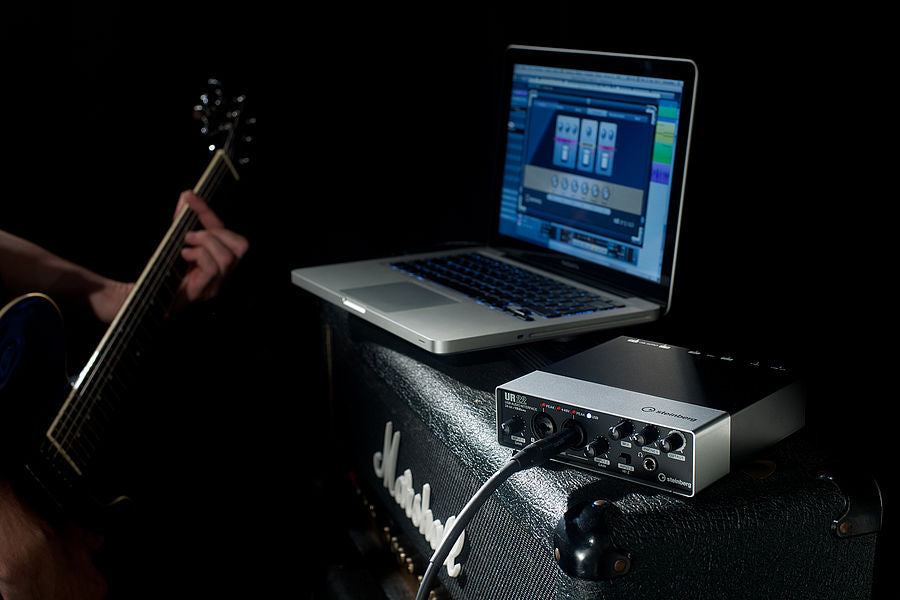
- Microphones
If you wish to record an acoustic instrument (and that includes your voice) you will need a microphone.
You can read more about mic options in our guide found here, but if this is your first mic then a simple dynamic is a good way to go. A mic such as the Shure SM57 or SM58 might be just what you need to get started. - Headphones
Once again, if you are recording acoustic instruments you will need some headphones.
You can read our guide choosing the right headphones for your job here. - Monitors
Yes, you can mix and master music on headphones or regular speakers, but these will not give you an accurate representation of what has been recorded. Commercial speakers and headphones will colour the sound to make things better…which is fine, but when you are mixing a track it can hide what is really going on. Dedicated studio monitors such as the Yamaha HS range are designed not to flatter or sweeten the sound, but rather show exactly what is going on in the recoding so that during the mixing and mastering phases you can make the best judgements possible in editing and enhancing the tracks for listening across a number of sources.
You can learn more about our monitors by reading our guide.
Buy Studio Monitors


Leave a comment